

Before diving into the installation process, gather the necessary tools:
Adjustable wrench
Plumber's tape
Screwdriver (flathead or Phillips, depending on your faucet)
Basin wrench (optional but helpful for tight spaces)
Towels or rags (to absorb spills)
Bucket or basin (to catch excess water)
Having these tools at hand will streamline the installation process and minimize potential setbacks.
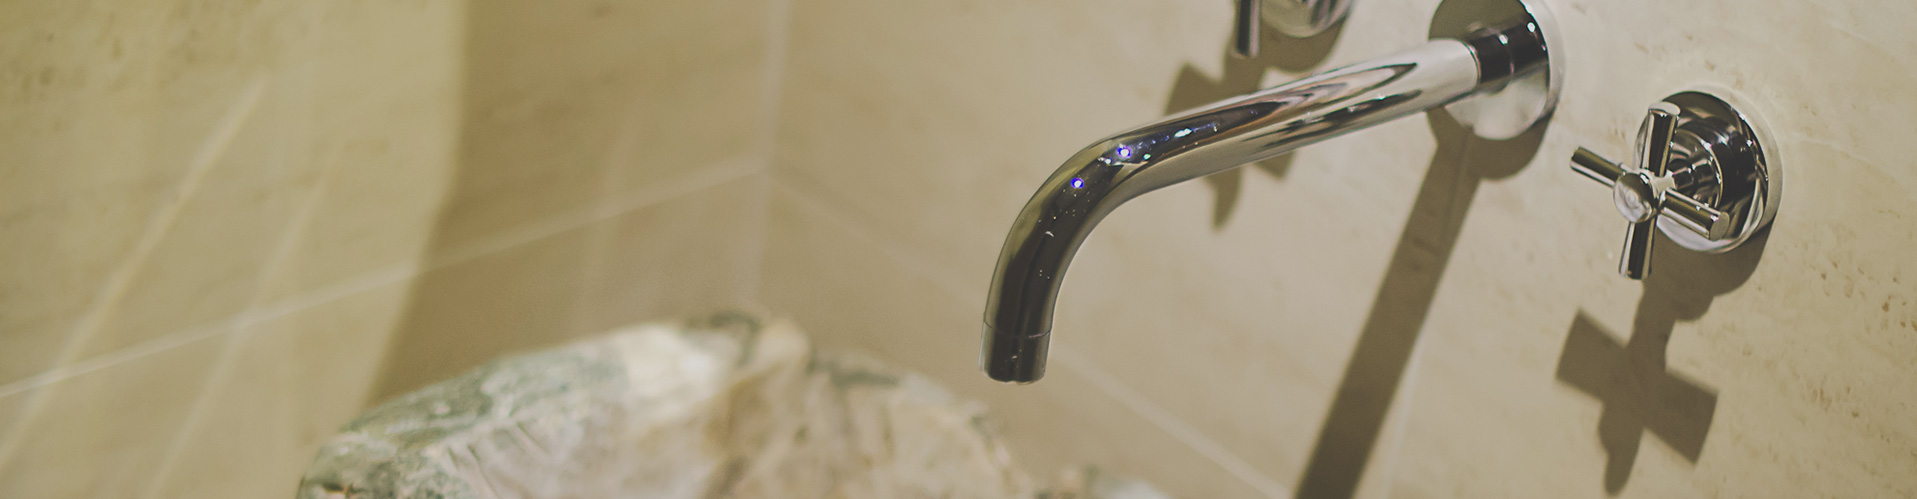
2. Choose the Right Faucet (griferia) : Measure Twice, Install Once
Selecting the perfect faucet is crucial. Consider factors like style, finish, and functionality to ensure it complements your space and meets your needs. Double-check the measurements to confirm compatibility with your sink before making a final decision.
3. Shut Off the Water: Prioritize Safety
Begin by shutting off the water supply to your sink. Locate the shut-off valves beneath the sink and turn them clockwise until fully closed. Next, turn on the faucet to drain any remaining water from the lines, reducing the risk of spills during installation.
4. Remove the Old Faucet: Make Way for the New
Use your adjustable wrench and screwdriver to disconnect the supply lines and remove the nuts securing the old faucet(griferia). Exercise caution to avoid damaging the sink or surrounding area during removal.
5. Assemble and Place the New Faucet: Embrace Fresh Beginnings
Refer to the manufacturer's instructions to assemble your new faucet carefully. Apply plumber's tape to the threaded ends of the faucet to create a secure seal. Position the faucet onto the sink, ensuring proper alignment with the pre-drilled holes.
6. Install the Basin Nuts: Secure Your Fixture
Thread the basin nuts onto the faucet(griferia) tailpieces by hand beneath the sink. Use your adjustable wrench to tighten the nuts further, ensuring a snug fit without over-tightening, which could cause damage.
7. Center the Faucet Body: Strive for Symmetry
Adjust the position of the faucet body on the sink to achieve a centered alignment with the sink's drain opening. Take your time to ensure optimal placement for both functionality and aesthetics.
8. Tighten the Basin Nuts: Seal the Deal
Once the faucet is correctly positioned, give the basin nuts a final tightening to secure the faucet firmly in place. Be mindful not to over-tighten, as this could lead to damage or leaks.
9. Connect Water Supply and Check For Leaks: Confirm Success
Reconnect the supply lines to the corresponding hot and cold water valves, ensuring a secure seal with your adjustable wrench. Gradually turn on the water supply and inspect for leaks around the connections and faucet base. Adjust the connections as needed until they are watertight.
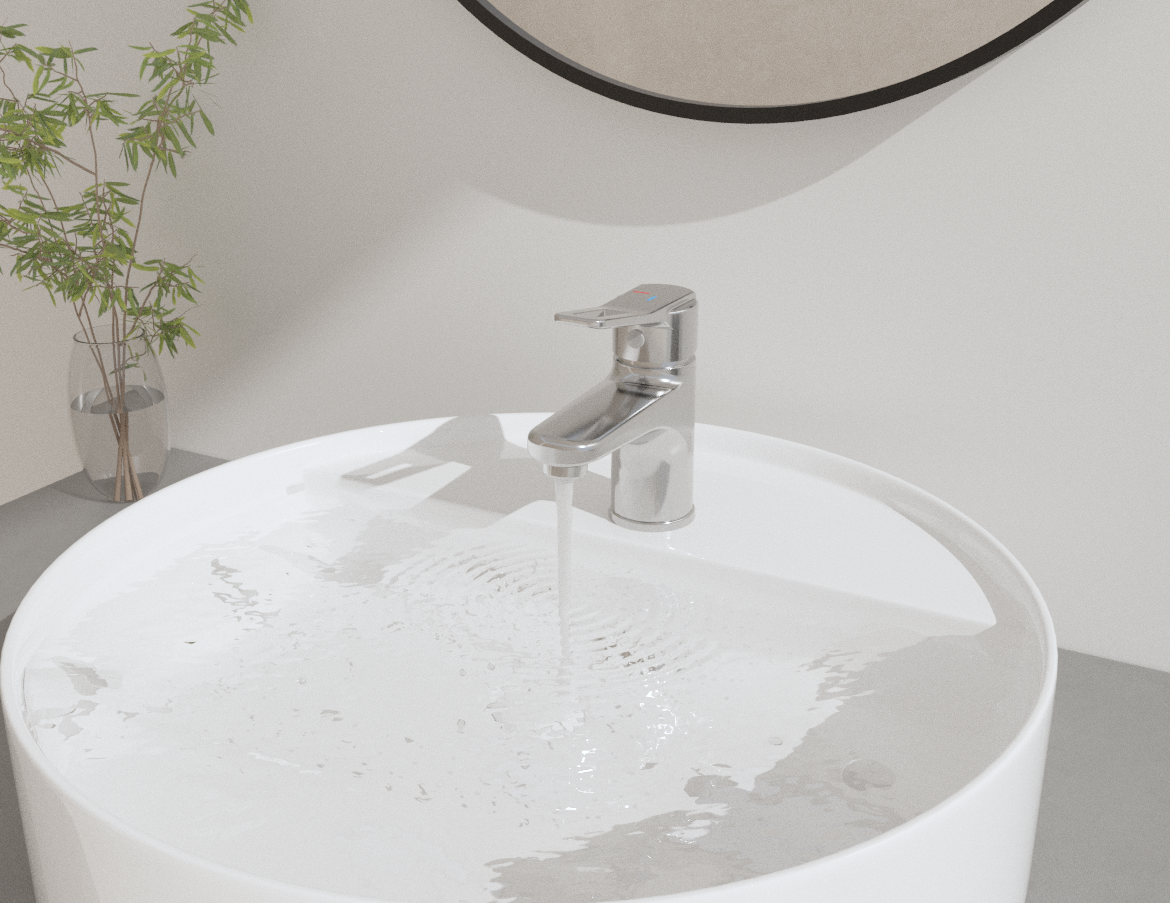
Congratulations! You've successfully installed your new bathroom sink faucet(griferia). Take a moment to admire your accomplishment and revel in the enhanced beauty and functionality of your space. With proper installation and upkeep, your new faucet will serve as a reliable and stylish centerpiece for your bathroom, enhancing your daily routine with every drop.
")
")
")
")


")
")
")
")


